💧 How to Install Roof Drip Edge Flashing (Step-by-Step DIY Roofing Tutorial)

Roof drip edge flashing is a critical waterproofing detail that protects your home’s fascia and roof edges from water damage. Installed along eaves and rake edges, drip edge ensures rainwater flows into gutters — not behind them. This guide covers every step of a professional-grade installation with clear diagrams and best practices.
🧰 Tools & Materials Needed
Gather the right tools and materials before beginning to ensure a clean, efficient installation:
- 🔩 Drip edge flashing – aluminum or galvanized steel in 10-ft sections
- 🔨 Roofing nails – 1¼″ galvanized with wide heads
- 📏 Chalk line & snips – to mark and cut drip edge pieces cleanly
- 🧴 Roofing sealant – to seal seams and overlaps
- 🧤 Work gloves & safety glasses – protect hands from sharp metal edges
- 🪜 Extension ladder – stable access to eaves and rakes
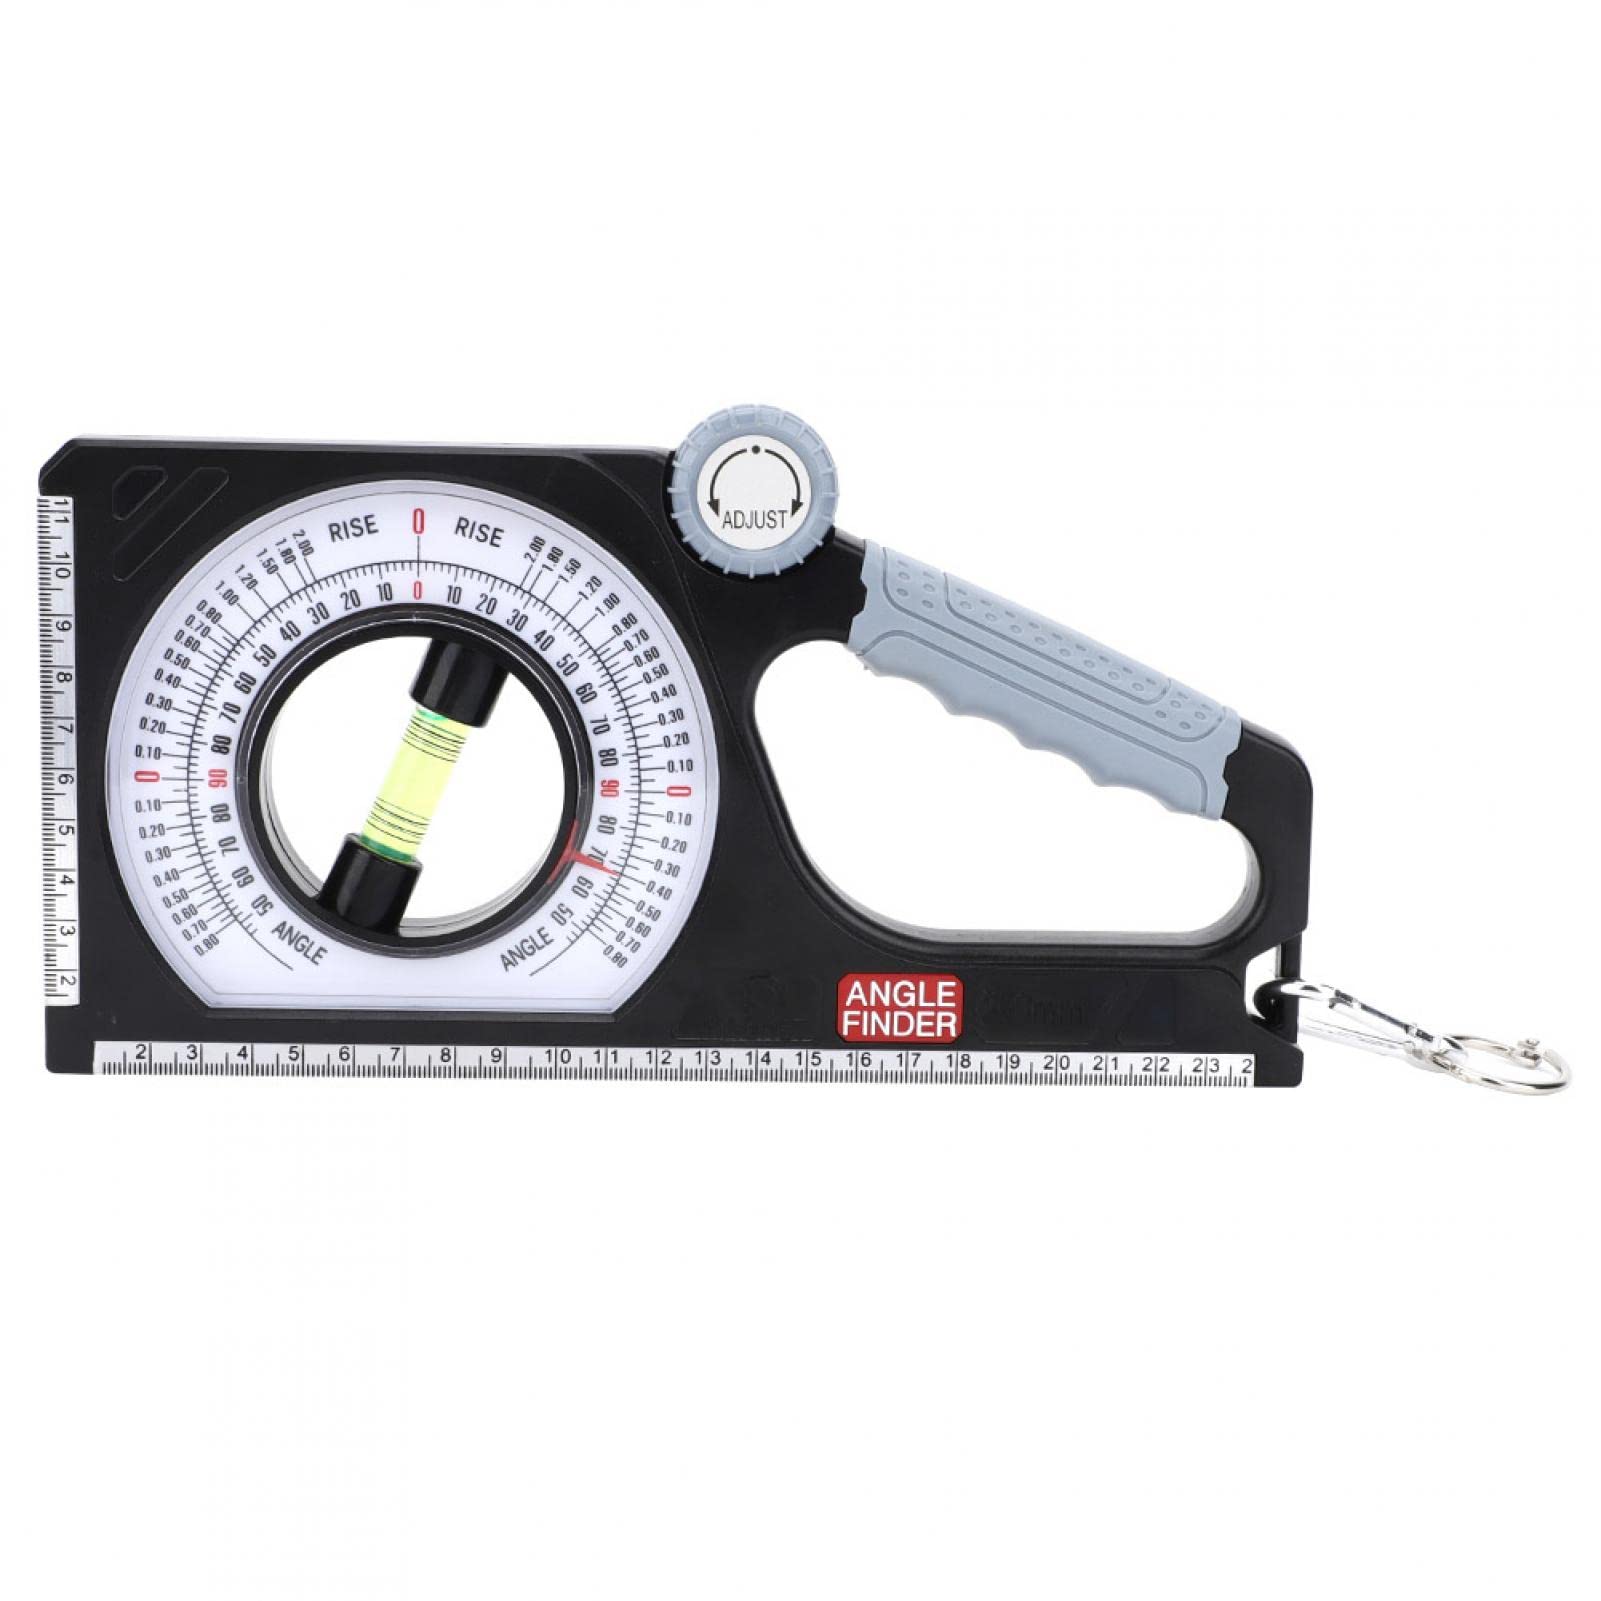
🔧 Recommended Roofing Tools & Supplies
Disclosure: This section contains affiliate links. As an Amazon Associate, we earn a small commission from qualifying purchases — helping us keep SmartRoofingCalculator free to use.
📋 Step-by-Step Drip Edge Installation
- 1. Measure and cut drip edge.
Use tin snips to cut 10-ft sections to match the roof’s length, leaving a ½″ gap between pieces for expansion. - 2. Start at the eaves (bottom edge).
Position the drip edge with the lower flange extending over the fascia and the upper leg on top of the roof decking. - 3. Nail every 8–10 inches.
Fasten along the top flange using roofing nails 1 inch above the edge, ensuring pieces lay flat and flush. - 4. Overlap sections by 2 inches.
Each new section should overlap the previous by at least 2 inches to prevent water infiltration at seams. - 5. Apply sealant at joints.
Use roofing sealant under overlaps and around corners for watertight protection. - 6. Install rake edge flashing.
At gable ends, install rake edge flashing over the underlayment for wind resistance and clean finish. - 7. Integrate with gutters.
Ensure the drip edge’s lower flange sits inside the gutter for proper drainage alignment.
✅ Best Practices for Drip Edge Installation:
• Always install drip edge beneath underlayment at eaves, but above it at rakes.
• Maintain consistent nail spacing to prevent flutter in wind.
• Avoid bending or creasing metal — it can cause water traps.
• Paint cut edges with rust-preventive coating if using steel.
• Verify local building code requirements for overlap and fastener spacing.
💡 Pro Tips for a Perfect Finish
- Use factory-painted drip edge for longer-lasting curb appeal.
- Seal corners and joints with polyurethane roofing caulk.
- Trim gutters if necessary to allow flange clearance.
- Install before shingles to achieve proper underlap protection.
- Check alignment with fascia every few feet to maintain a straight line.
❓ FAQ – Drip Edge Flashing Questions
Q: Should drip edge go under or over underlayment?
At eaves, drip edge goes under underlayment; at rakes, it goes over underlayment.
Q: How much should drip edge overlap?
Each piece should overlap the previous one by at least 2 inches.
Q: What gauge metal is best for drip edge?
Aluminum (0.019–0.024") or galvanized steel (26–28 gauge) provides ideal strength and corrosion resistance.
Q: Can I install drip edge without removing gutters?
Yes — slide the lower flange behind the gutter’s back edge carefully without bending.
Q: Do all roofs need drip edge?
Yes — most building codes require it to prevent fascia rot and water intrusion.
⚠️ Safety Reminder
Wear gloves when handling flashing to avoid sharp-edge cuts. Use stable ladders and never install metal flashing in wet or windy conditions.
📚 Related Guides:
How to Install Roof Underlayment •
How to Install Roof Shingles •
Roof Valley Calculator


