🧰 How to Repair Roof Leaks Around Vents (Step-by-Step DIY Guide)
Roof vent leaks are among the most common sources of water intrusion and ceiling stains. Over time, flashing can crack, nails loosen, and sealant dry out — allowing rainwater to sneak in. This expert DIY guide walks you through how to identify, repair, and prevent vent leaks safely, using affordable tools and durable materials.
🪚 Tools & Materials Needed
Gather the following items before starting your repair to ensure a smooth and efficient process:
- 🪜 Extension ladder — rated for roof access
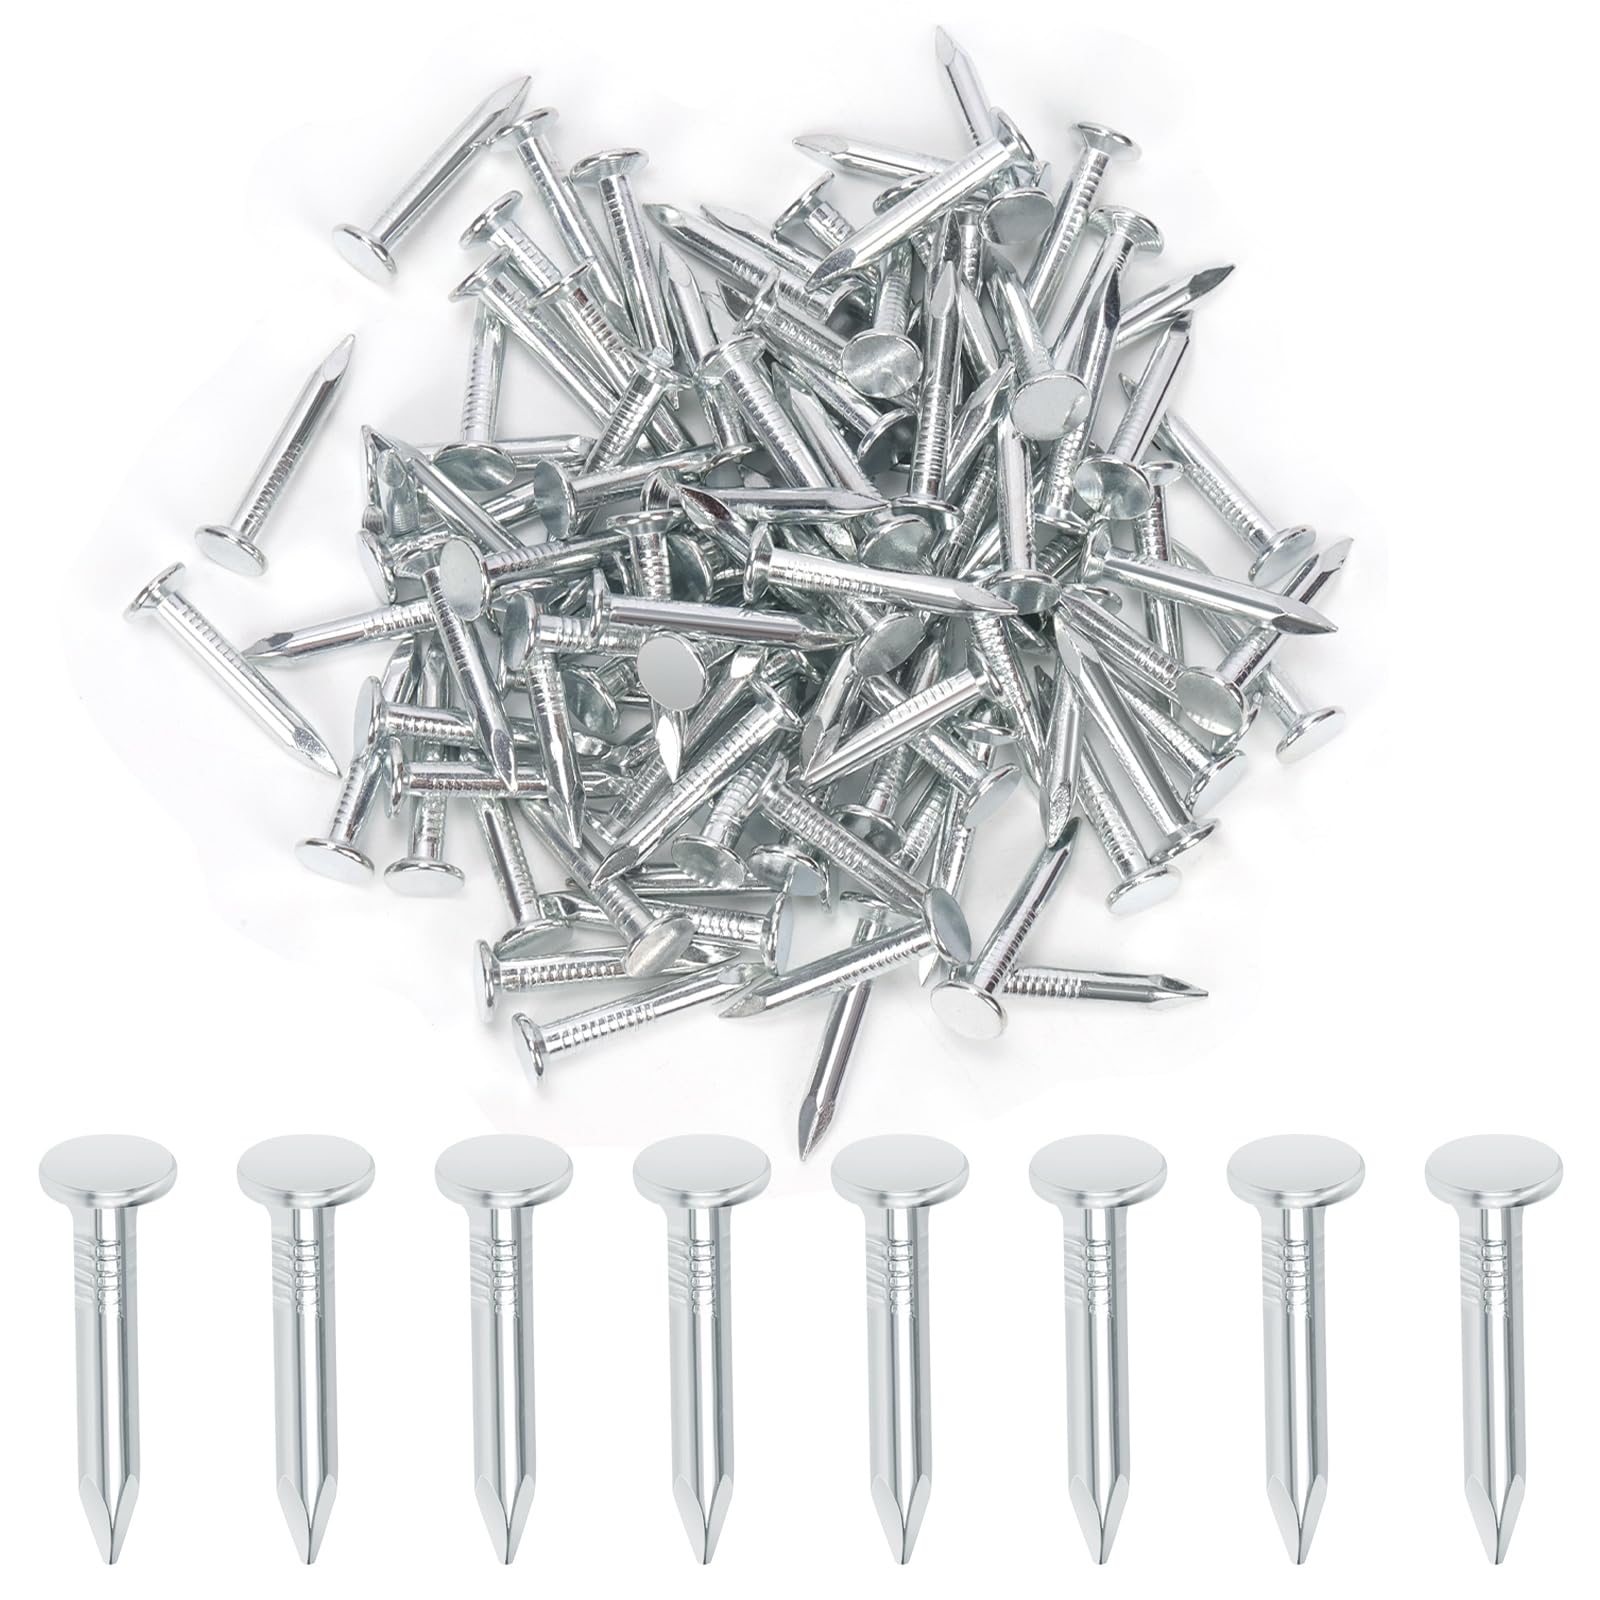
- 🔨 Roofing hammer or nailer — for re-fastening shingles
- 🧴 High-temp roofing sealant — silicone or polyurethane-based
- 📏 Flat pry bar — to gently lift shingles without tearing
- 🪠 Replacement vent flashing — matched to your roof type
- 🧤 Work gloves & non-slip boots — for safety
🔧 Recommended Roofing Tools & Supplies
Disclosure: This section contains affiliate links. As an Amazon Associate, we earn a small commission from qualifying purchases — helping us keep SmartRoofingCalculator free to use.


🔧 Step-by-Step Repair Instructions
- Locate the source of the leak.
Check the vent base, flashing edges, and nail heads. Look for rust, cracks, or lifted shingles. - Prepare the area.
On a dry day, clear away debris and gently clean around the vent collar using a putty knife. - Lift surrounding shingles.
Insert a flat pry bar under nearby shingles to free the old flashing and nails. Avoid tearing the shingle tabs. - Replace the vent flashing.
Slide the new flashing under the upper shingles and over the vent pipe base. Secure it using roofing nails along the top edge. - Seal all edges and nail heads.
Apply a generous bead of roof sealant around the vent base and each exposed fastener to ensure a watertight barrier. - Test your repair.
Spray the repaired area with a garden hose for several minutes. Have someone inside check for leaks to confirm the seal is complete.
💡 Pro Tips for Long-Lasting Repairs
- Perform roof inspections twice a year — spring and fall.
- Use UV-resistant sealant for longer lifespan.
- Replace damaged shingles immediately to prevent further moisture intrusion.
- Check attic vents for condensation that can mimic leaks.
⚠️ Safety Reminder
Always work with a partner and use a properly secured ladder. Avoid roof work in wet or windy conditions. For steep pitches, consider using a harness and roof anchor system.